A Comprehensive Guide to Toning Highlights at Home
Discover the secrets of achieving salon-quality highlights at home with our step-by-step guide to using hair toner. Learn the techniques, avoid common pitfalls, and embrace beautifully refreshed locks with confidence.

A Step-by-Step Guide to Using Hair Toner on Highlights at Home
Introduction:
Welcome to the world of at-home hair care mastery! If you've been wondering how to achieve salon-worthy highlights without leaving the comfort of your home, you're in the right place. In this step-by-step guide, we'll walk you through the process of using hair toner to enhance and perfect your highlights, giving you that coveted professional touch.
Step 1: Gather Your Tools and Supplies
Before diving into the toning process, make sure you have all the necessary tools and supplies. This includes your chosen hair toner, developer, a mixing bowl, an applicator brush, gloves, and old towels or capes to protect your clothing.
Step 2: Prep Your Hair
Start with clean, dry hair. If you've recently highlighted your hair, ensure that the color has settled for at least 48 hours. Comb through your hair to remove any tangles and knots, making the application process smoother.
Step 3: Mix Your Toner
Follow the instructions on the hair toner packaging to create the perfect mixture. Typically, you'll need to mix the toner with a developer. Use the mixing bowl and applicator brush to achieve a smooth and consistent blend.
A Comprehensive Guide to Toning Highlights at Home
Step 4: Section Your Hair
Divide your hair into manageable sections. This ensures even application and allows you to focus on each highlighted area. Use clips or hair ties to keep the sections separated.
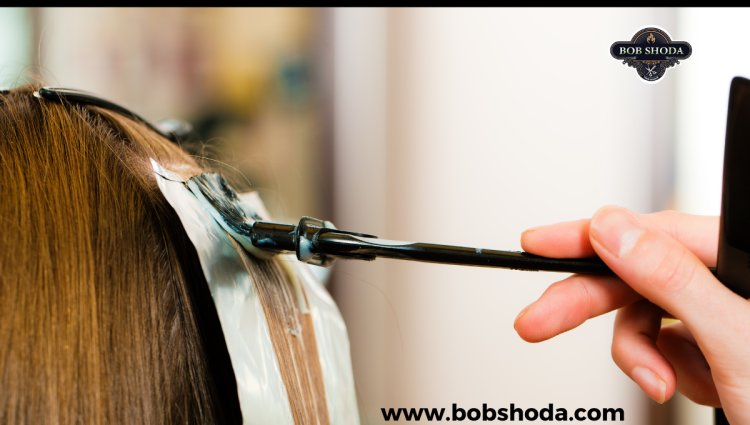
Step 5: Apply the Toner
Starting from the bottom sections and working your way up, apply the toner to each highlighted area using the applicator brush. Make sure to saturate the hair thoroughly, covering both the roots and the ends. Be cautious not to overlap with unhighlighted hair.

Step 6: Time It Right
Refer to the instructions on your toner for the recommended processing time. Typically, it's around 10-20 minutes. Set a timer to avoid over-processing, which can lead to undesired results.
Step 7: Rinse and Condition
A Comprehensive Guide to Toning Highlights at Home
Once the processing time is up, rinse your hair thoroughly with lukewarm water. Follow up with a color-safe conditioner to lock in moisture and maintain the health of your newly toned highlights.
Step 8: Style as Desired
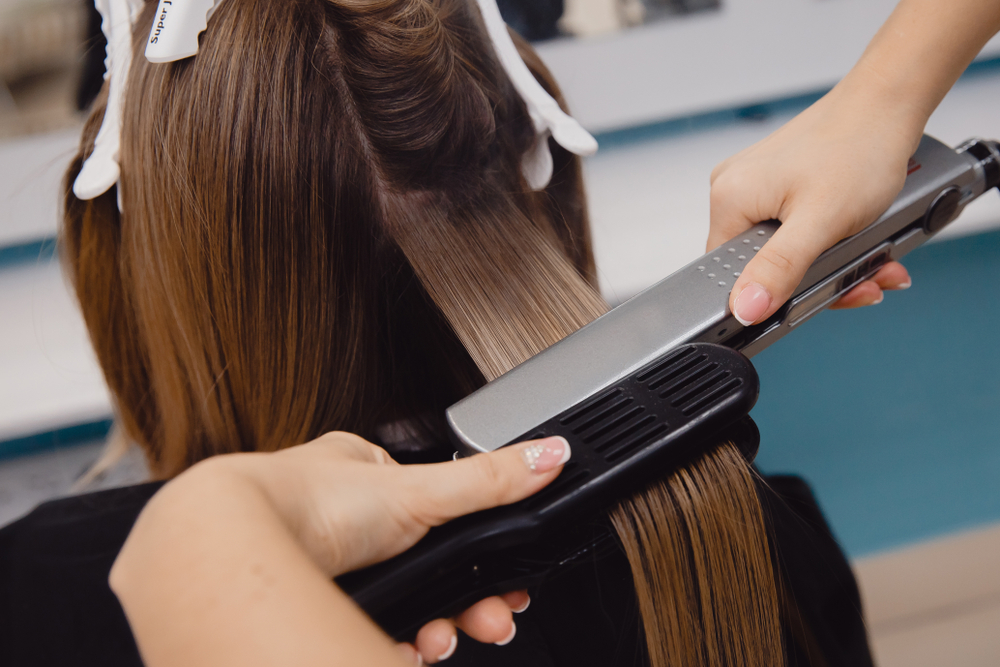
After rinsing and conditioning, style your hair as usual. Admire the beautiful, refreshed highlights that now boast a professional finish.
Conclusion:
A Comprehensive Guide to Toning Highlights at Home
Congratulations! You've successfully navigated the process of using hair toner on your highlights at home. With a little time and effort, you can achieve salon-quality results and enjoy the radiant, toned highlights you've always wanted. Now go out and flaunt your beautifully refreshed locks with confidence!
What's Your Reaction?


